How to Set Up Child Registration IDs in Kriyo?
Where to Configure Child Registration IDs
Child Registration ID configuration is available only on Kriyo Web.
Go to:
Admin Tools → Configuration Settings → Child Registration ID
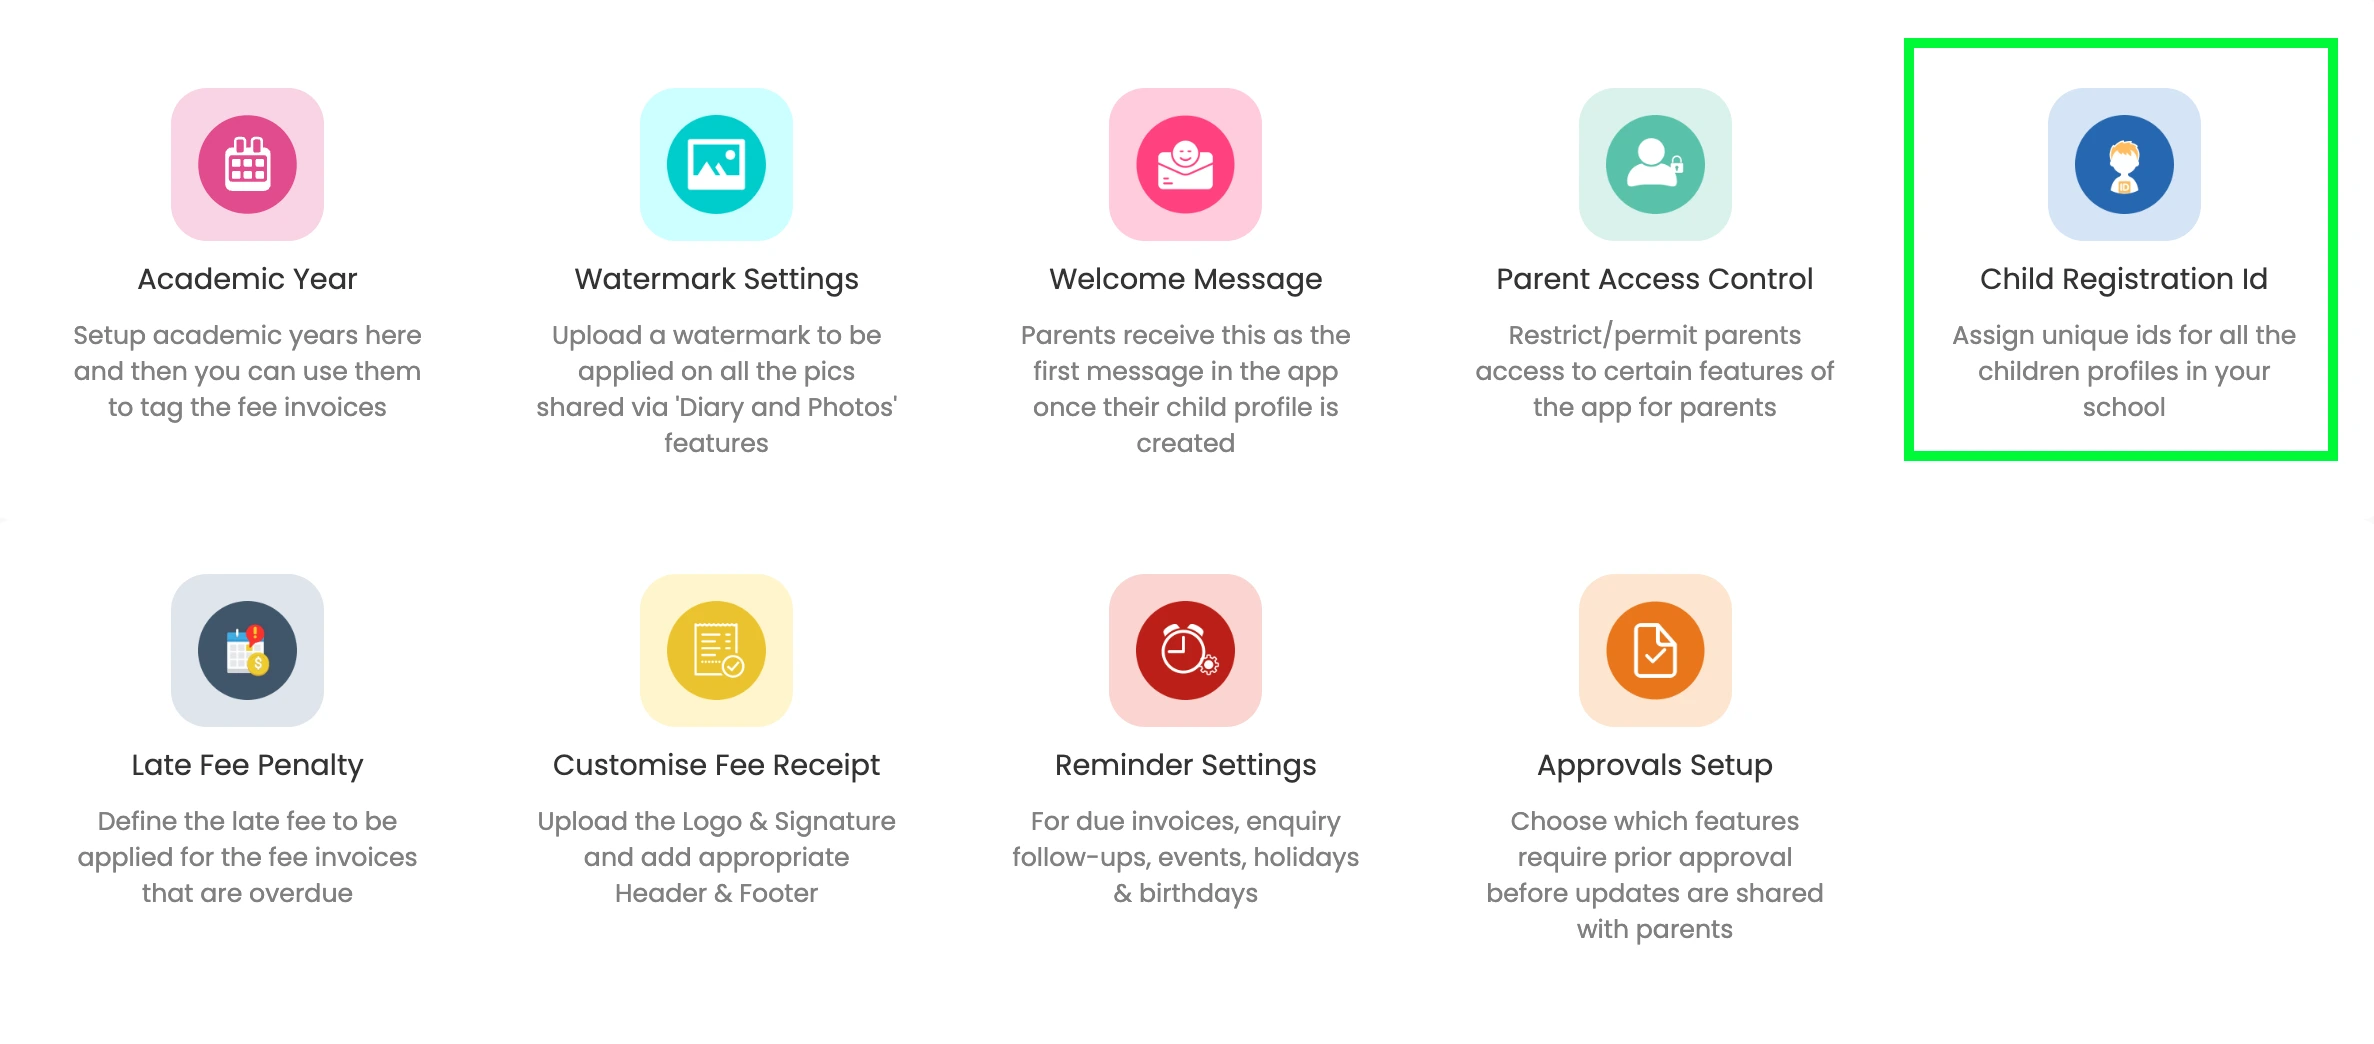
Step 1: Define the Registration ID Prefix
Enter the prefix you want to use for all child Registration IDs.
Best practices for prefixes:
- Use a short school or center identifier
- Optionally include the academic year for clarity
Example:
- KRYIN (Kriyo Indira Nagar)
- KRY25 (Academic Year 25)
Kriyo will automatically append a running number to the prefix, starting from 0001(e.g., KRIOHYD0001, KRIOHYD0002).
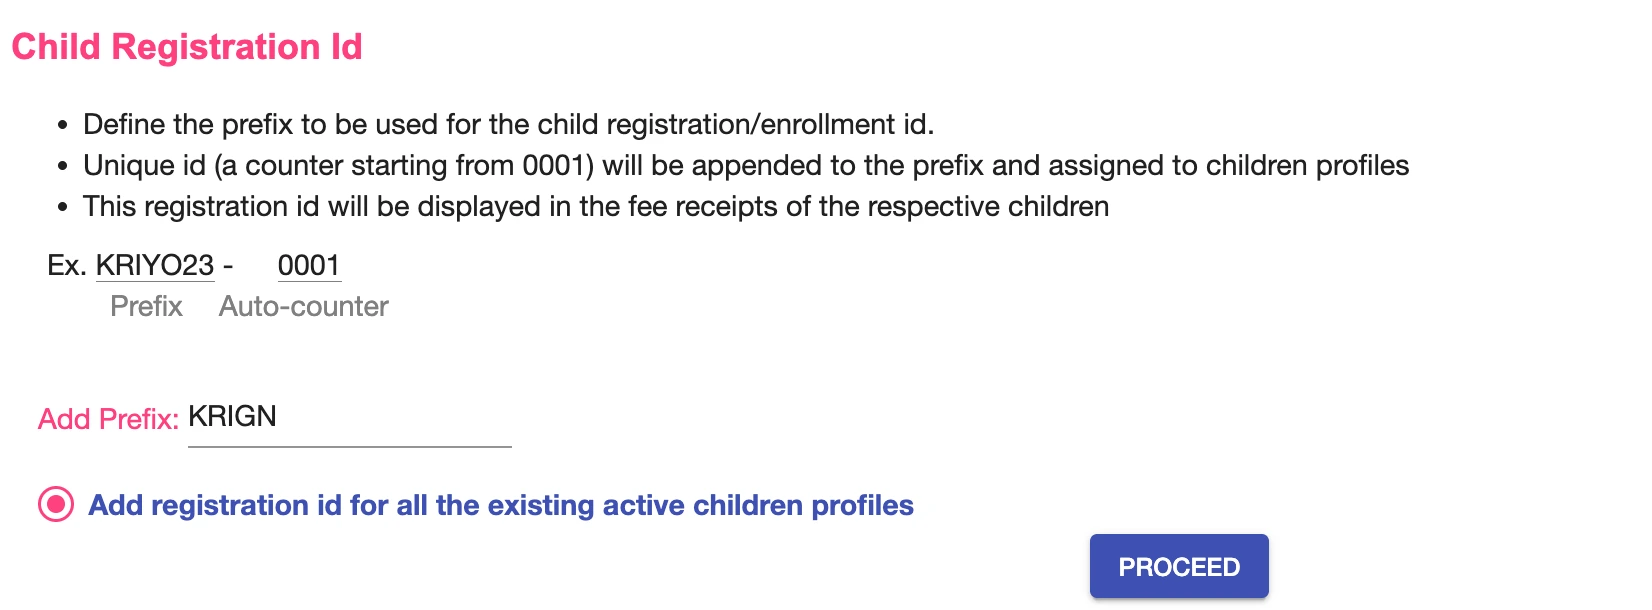
Step 2: Choose How Registration IDs Are Applied
Depending on your setup stage, Kriyo shows different options:
If this is your first-time setup
- You can apply Registration IDs to all existing active children profiles in one go.
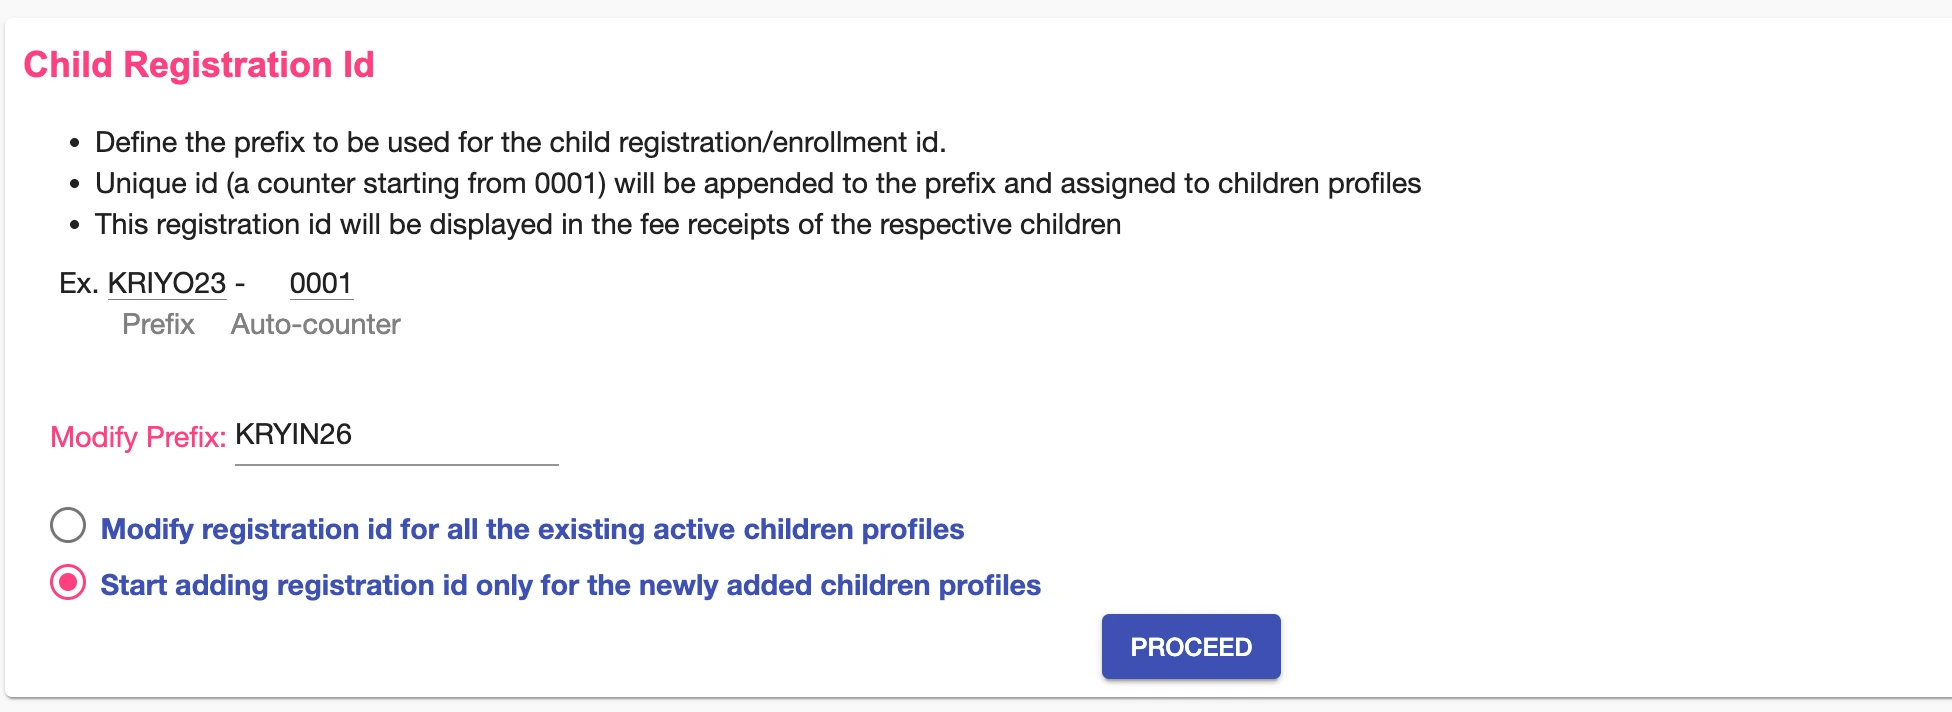
If you are updating an existing Registration ID format
You can choose one of the following:
- Update Registration IDs for all existing active children
- Apply the new format only to newly added children
This gives you full control without disrupting existing records.
What Happens After Setup
- Every new child profile created will automatically receive the next Registration ID
- No manual entry is required
- Registration IDs appear across relevant records such as child profiles and fee documents
Important Notes
- Registration IDs are generated sequentially and cannot be reused
- Once assigned, an ID remains linked to the child’s profile
- If a child profile is reactivated, the same Registration ID continues
- If a new profile is created for the same child, a new Registration ID is generated
Why This Helps
Using auto-generated Registration IDs ensures:
- Consistent student identification
- Error-free record keeping
- Professional and structured documentation