How to order stock to the third party vendors in Kriyo?
You can easily manage all your stock orders in Kriyo, even if the actual purchase happens outside the app. Once you place an order with any vendor, you can create a record of it in the “My Orders” section. This includes entering order details, attaching invoices, payment slips, and other documents. Keeping everything in one place helps you stay organised and makes future reordering quicker and easier.
While vendors are not currently linked to Kriyo, you can still create the order in Kriyo after placing it externally and add related documents such as purchase orders, payment slips, and invoices. This will serve as a one-stop hub for all inventory-related information, making tracking and future reordering easy. It will be handy for quick reference when you reorder the stock in the future.
Creating and confirming the order
1. Go to My Orders under the Inventory module.
2. To create a new order, click the Plus (+) button at the bottom right corner. By default, a sample order is provided to help you understand how it looks.
3. In the Vendor Details, click Select and choose your vendor. If you can’t see any vendors, check out the article below to see how to create the vendors.
[How to create the vendors in the Kriyo]
4. In the Order Details section, click Select to add stock items. From the pop-up at the bottom, choose either a bundle or an individual stock item, set the quantity, and click Done.
Note: If you want to add both a bundle and stock items, simply click Select again and repeat the process.
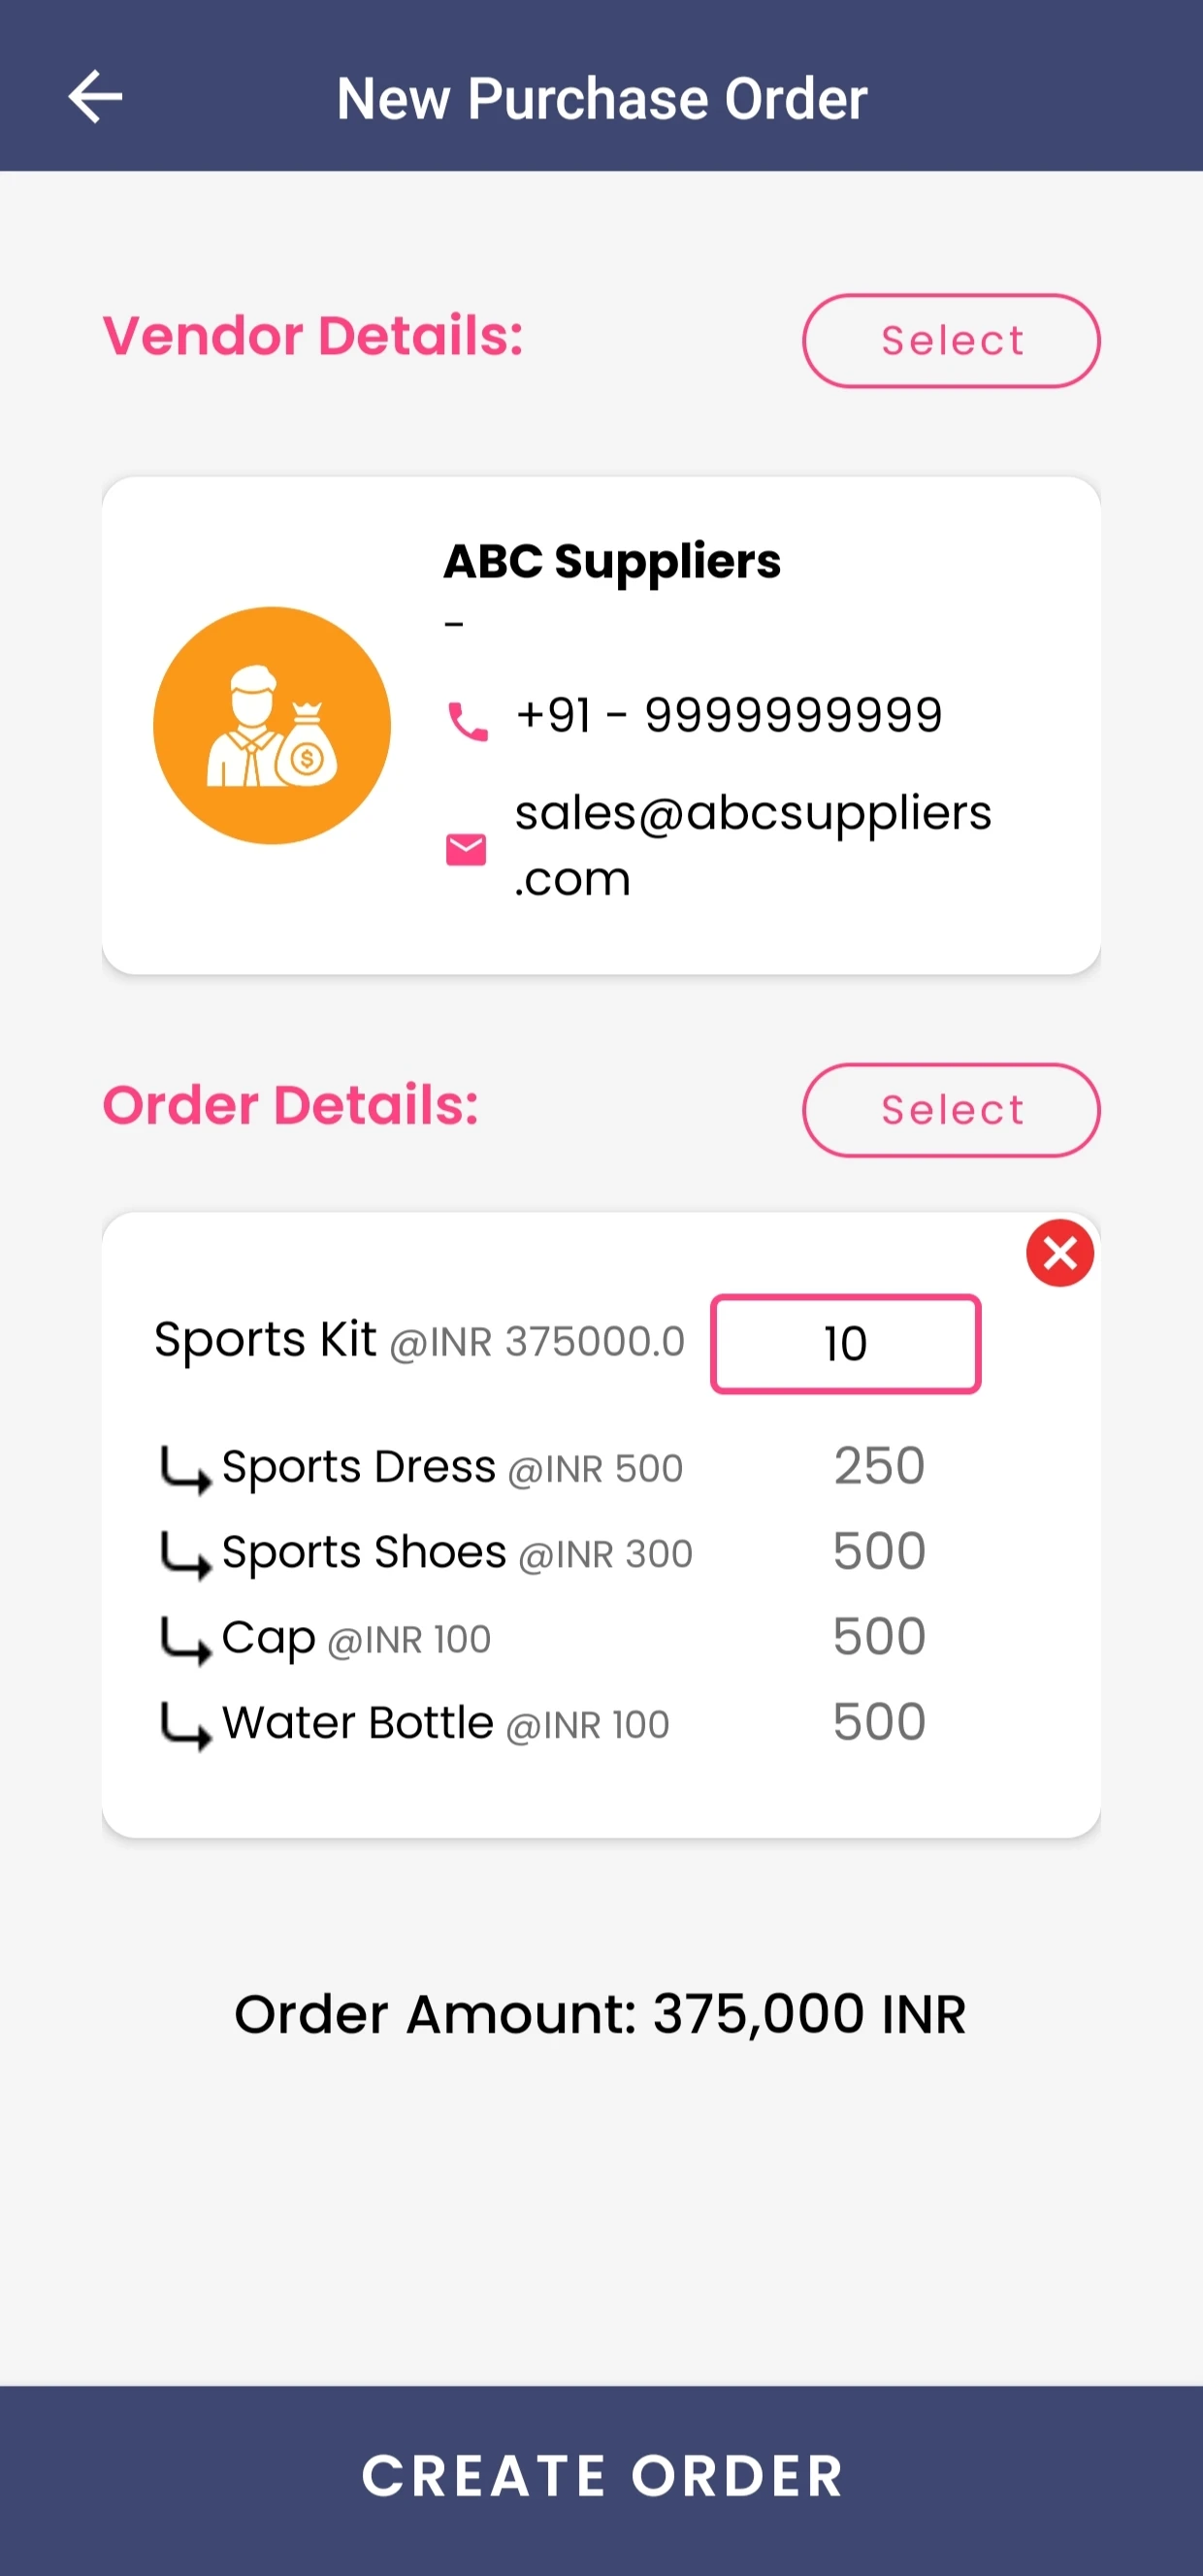
5. Enter the required quantity for each item and click Save.
Once you save the order, its status will be marked as Created.
After your vendor confirms the order, click on the Created status and select Confirm the Order. Then, enter the confirmation reference, who confirmed it, the confirmation date, and any notes if needed. You can also upload the purchase order as an attachment. Click Save to update the order status to Confirmed.
Update Payment Status
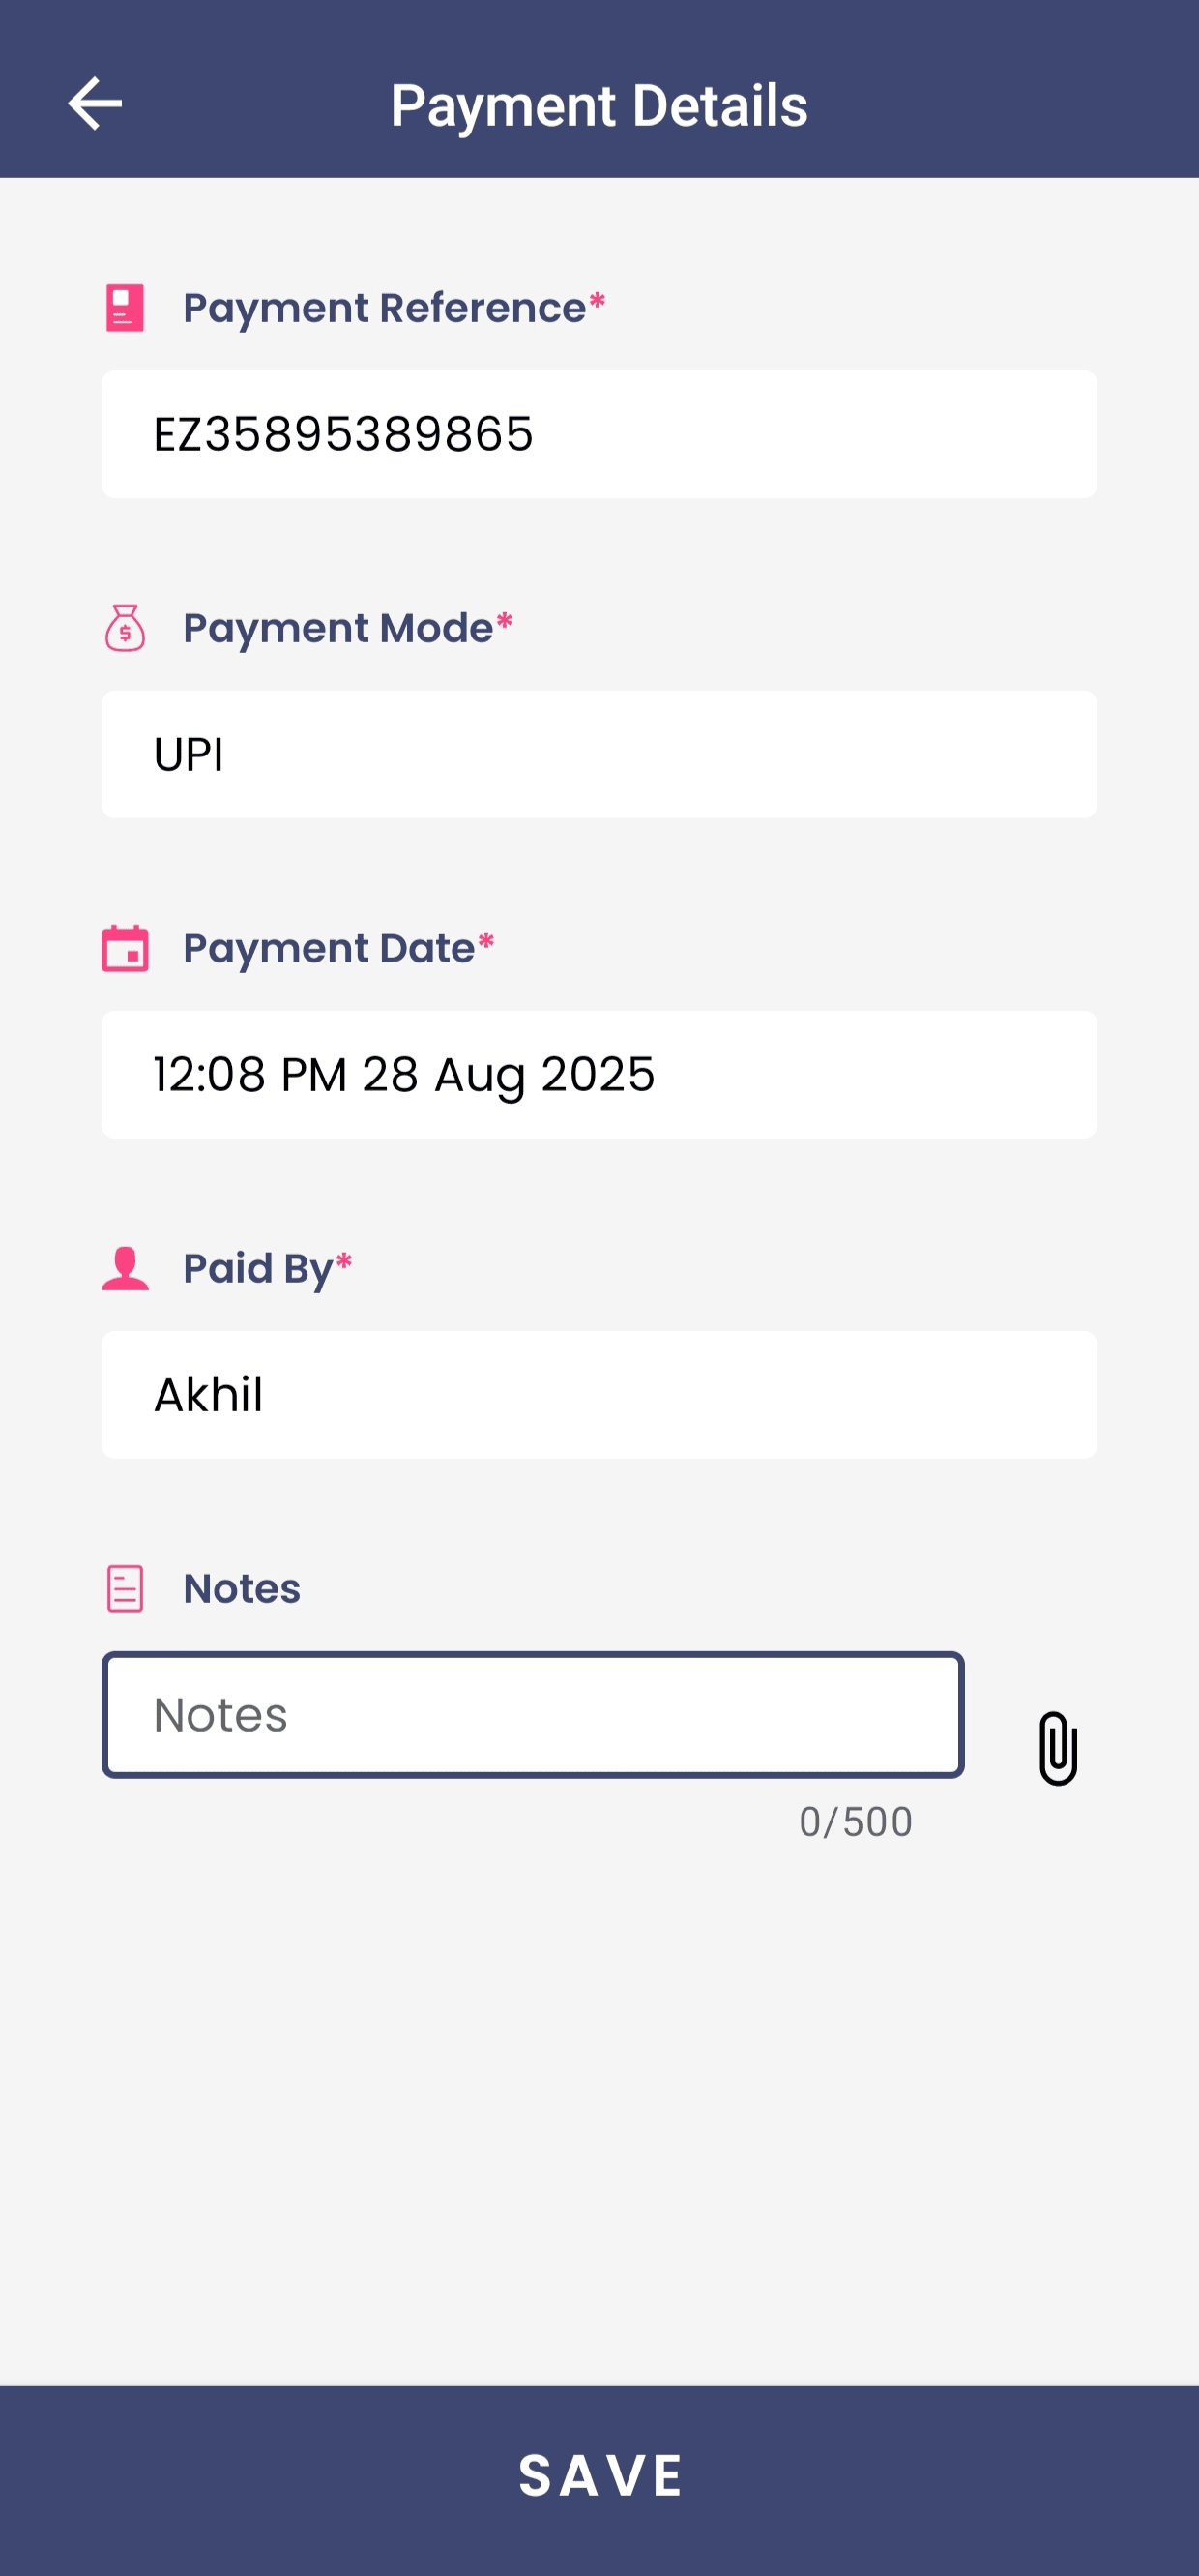
Once the status is updated to "Confirmed" and you've made the payment for the stock, click on the "Confirmed" status and select "Mark as Paid." Enter the payment details, including the Payment Reference Number, Paid By, Payment Date, Mode of Payment, and any additional notes if required. You can also attach the payment slip or screenshot for future reference. After entering all the details, click Save. The order status will then change to "Paid."
Updating Delivery Status
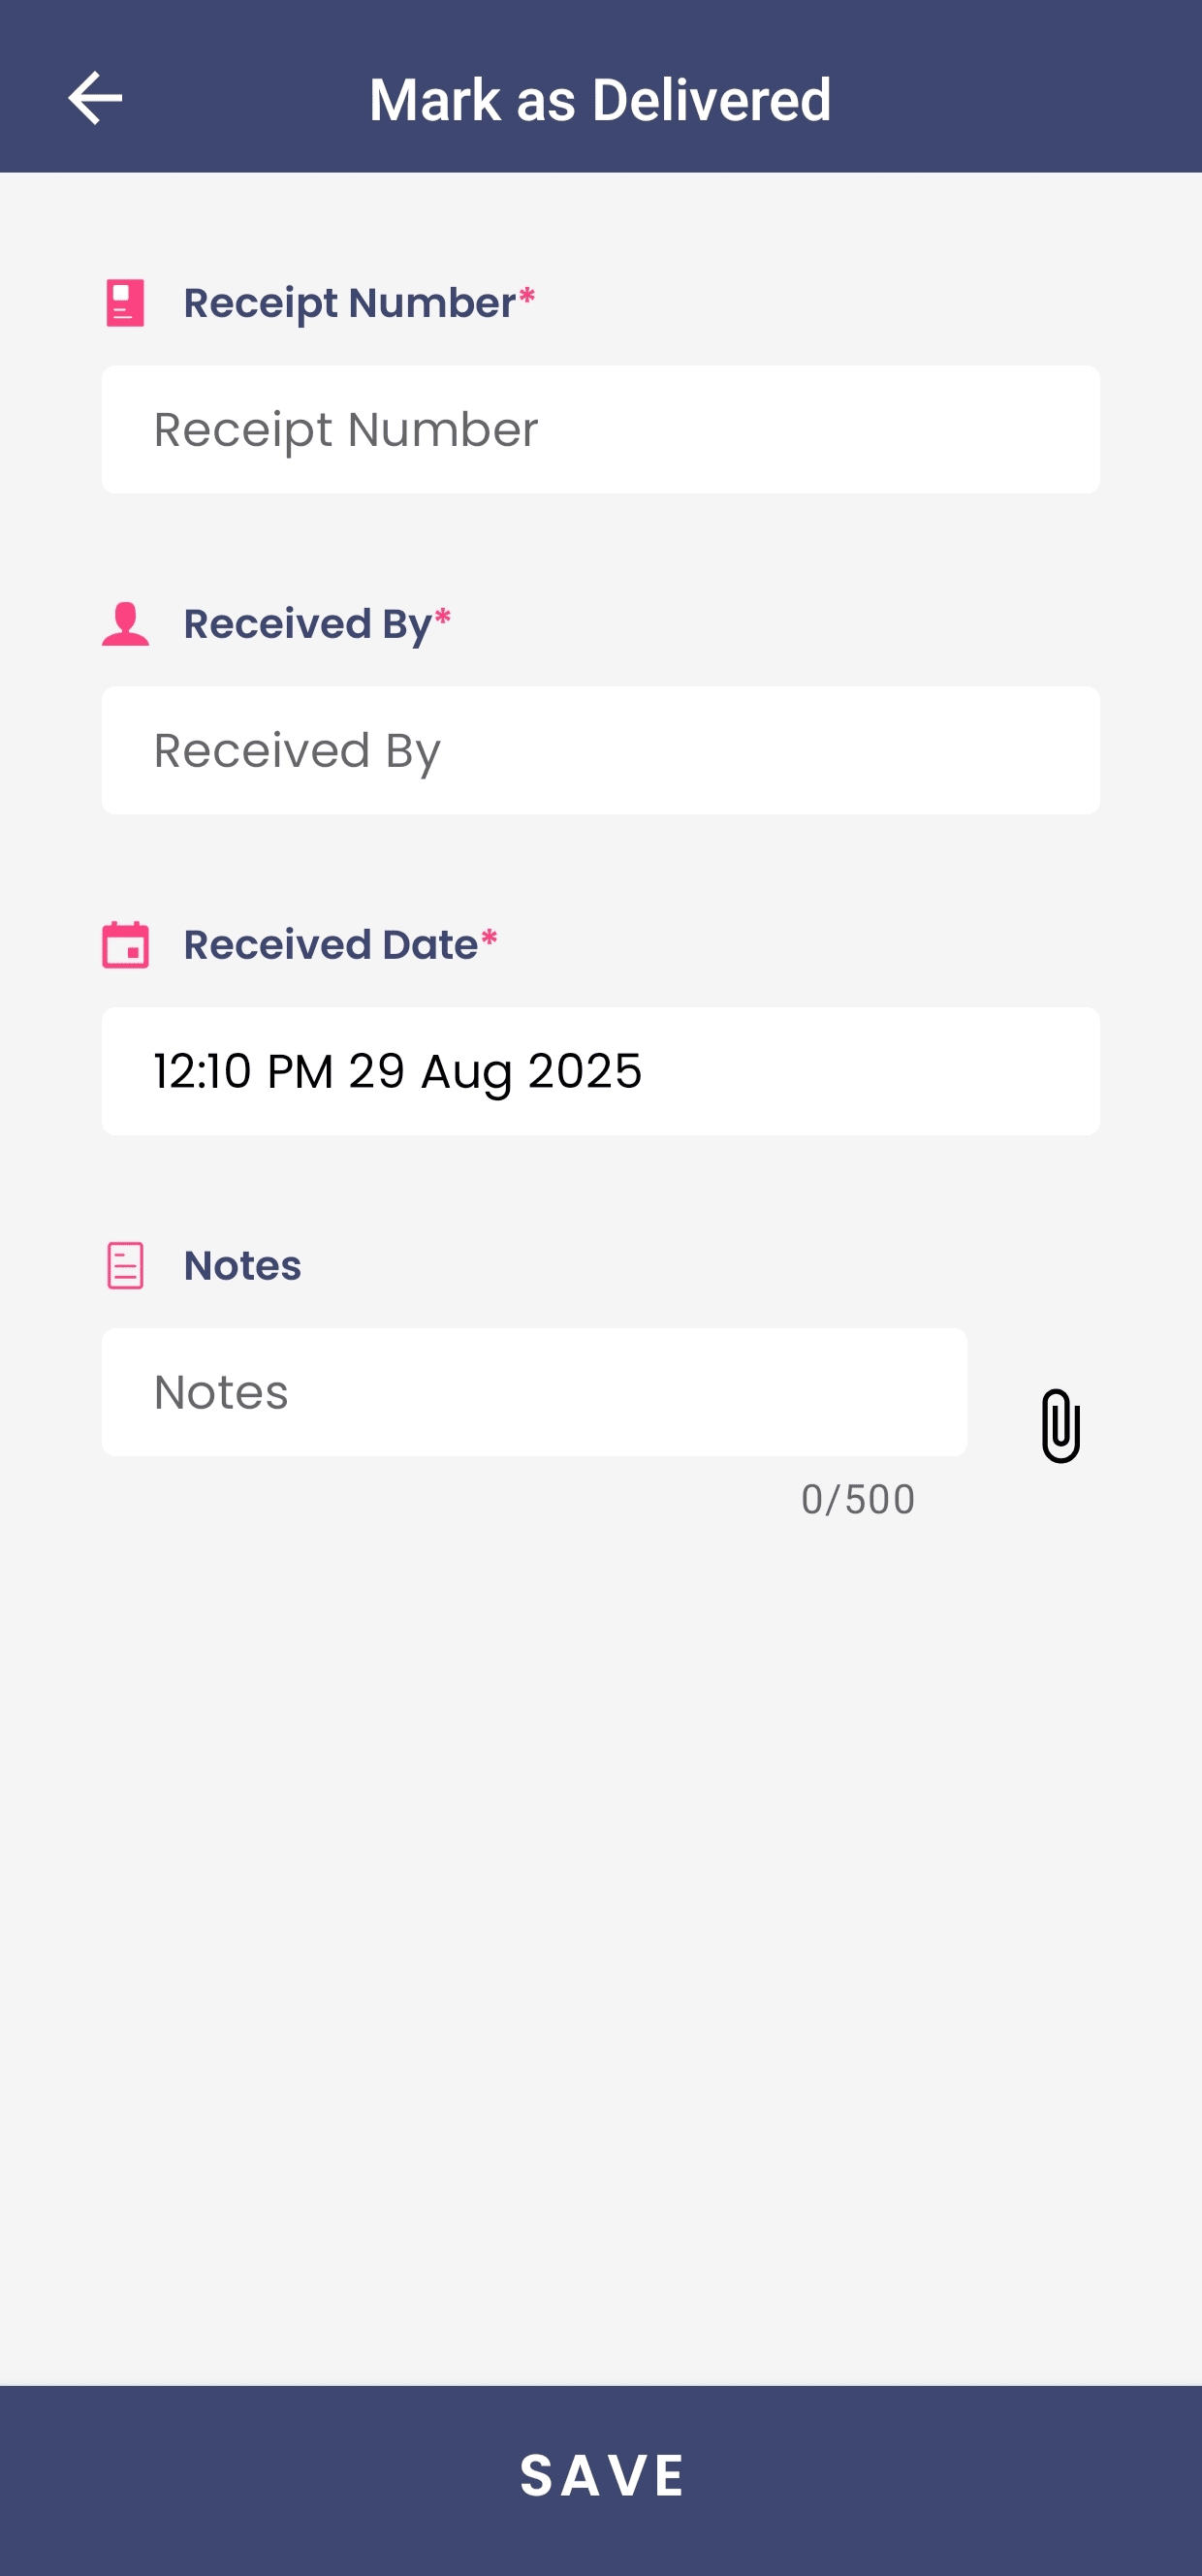
Once you receive the stock, click on the paid status and change it to "Mark as Delivered." Enter the Receipt Number, name of the person who received the stock, delivery date, and any relevant notes. Attach the invoice if required and click Save. Once saved, the order status will be updated to Delivered, and your current stock will be updated instantly.